The Waltons

Comment

The Waltons

Can you give me a small intro on yourself?
33, a new SAHM, married with 2 toddlers.

How many states have you lived in so far?
4, NY, SC, GA, NC

How long have you lived in North Carolina?
A year and one month

What made you & your husband move here? Better job opportunity for him & wanted a more young family friendly area

How many houses did you& your husband look at before you purchased your home? Originally there were probably about 20 houses I liked. When we were ready to actually start looking at houses only 5 of them were still on the market. I started looking at houses way before we were ready to buy just to get an idea of what was out there in our price range.

These pictures were taken July 22, 2017. How long have you lived in your home? Since the second week in May of this year.

What were the "must haves" on your list? Or were you both pretty open to anything as long as you both agreed on a home? We had to have a large enough backyard for the kids to play in, at least 4 bedrooms, open concept, an office space for him, within 30 minutes of his job, in a good neighborhood, not far away from grocery stores, and somewhat updated.

What sold you on this house? There were actually two houses that we tried to get before this one. This one came on the market some time after the other two didn't work out. It had almost everything we wanted and there weren't really any other choices. 
 
How do you like the neighborhood? We actually love the neighborhood. Everyone has been very welcoming. My gripe is the pool should be bigger than what it is, but we do have the option to put in our own with our neighbors permission.

Since this is your second time purchasing a home was the process any different than the first time you bought a house? Did you learn anything new about the process? This time was different because I knew what to expect. I learned that area we live in was a sellers market so you had to move fast. 

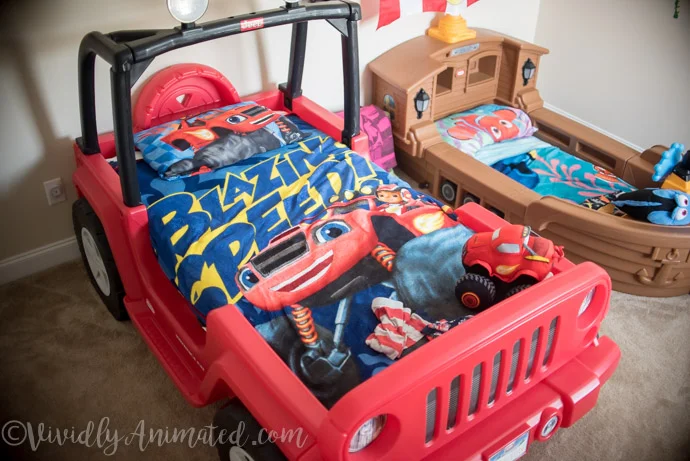
How many rooms & bathrooms does it have? There are 4 bedrooms, 1 additional bonus room and 4 & 1/2 baths


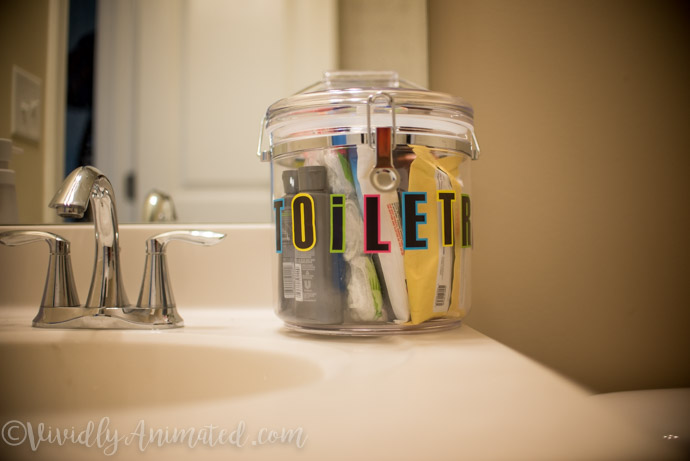
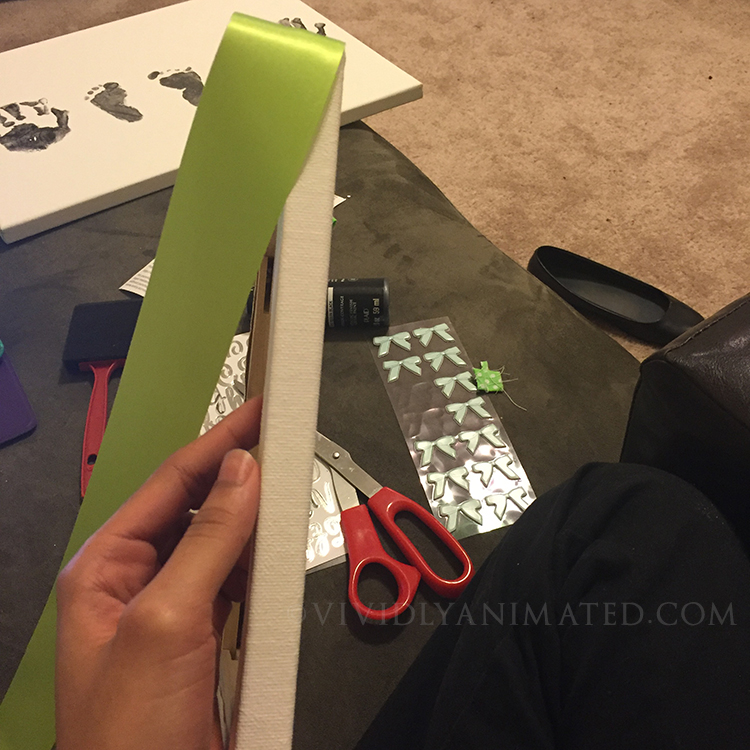
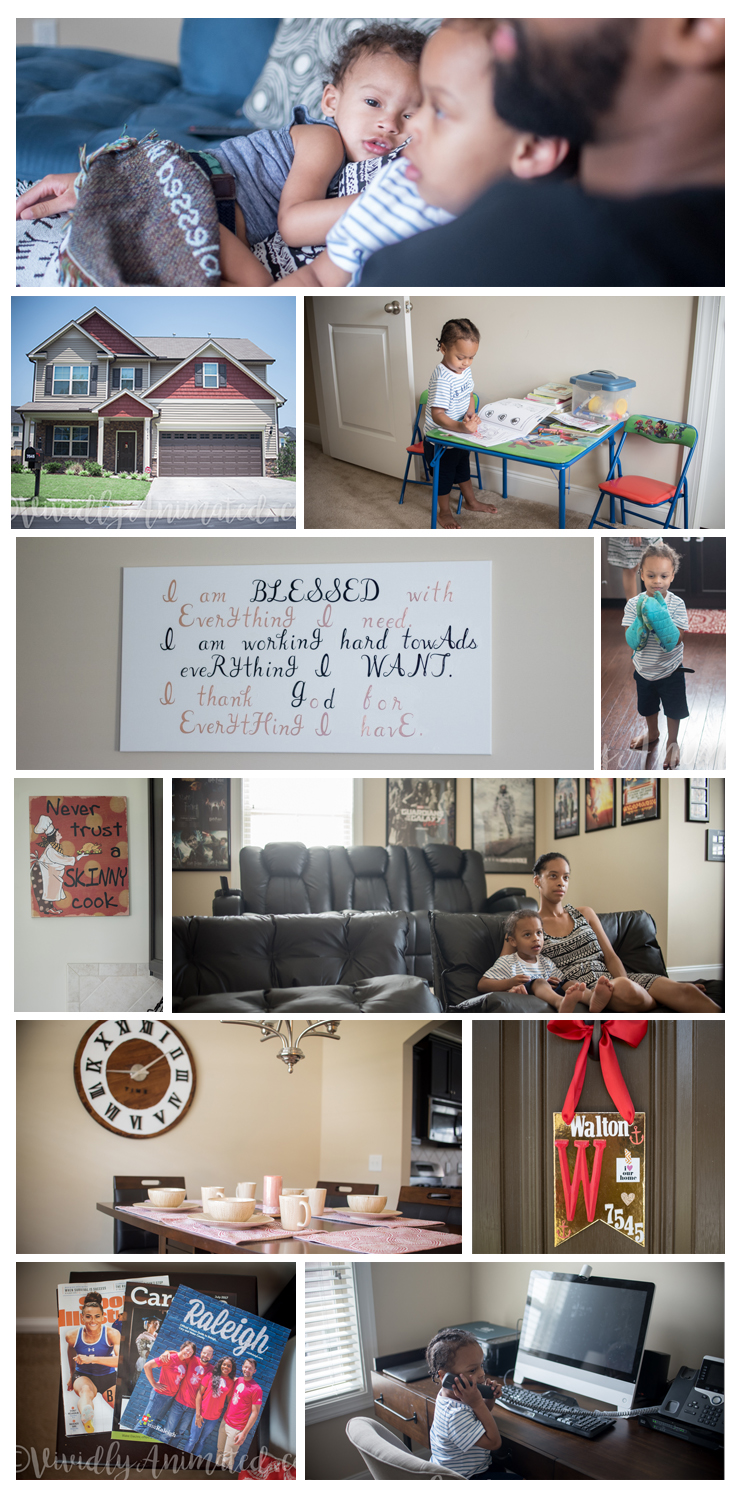
How many DIY projects did you complete so far? About 6, two canvas projects, guest room welcome/wifi password decor, toiletry bucket, clock, and a mud room like area near the front door. 

What was your favorite DIY project? The clock...it didn't come out exactly as I would have liked it to but I had fun making it. 

Which took the longest? The clock took the longest since it had to be painted. 

Which one was the hardest? The map canvas was definitely the hardest. I had to take one poster and evenly cut it to fit across 3 canvases.

Which room is your favorite? The media room, it's comfy & fun.
 
You said you budgeted for everything & made "dream boards" for the rooms, did you stick to the boards you drew up or veered off of some of them? The basics stayed the same from my dream boards but the decor changed due to the budget being lowered due to us putting more money down on the house than we initially anticipated. I plan on getting the decor items from my boards over time. 
 
I love the idea of having a "media room". & I love how you've decorated it already. However, you stated it's not complete yet, what more did you want to add to this room? One of my rows of posters are extremely shorter than the others so I want to do another row under that so it evens out. We plan on getting a larger TV, shelves for our DVDs, and an entertainment system. We also are going to do a mini concession type stand.
 
What's a typical day like in your home? We wake up have breakfast, the boys headed off to their playroom and I go into the media room. We then read and do some educational activities. Then we have lunch. After that I'll put on a TV show they watch to get them to mellow out for nap time. When they wake we have snacks. My husband normally comes home sometime after this. Me and the boys head outside to play for a bit then back inside to start & then have dinner. Then it's bath time and off to bed. On the weekends we do some family activities together like bike rides or we walk around and tour landmarks around us.

What do you love most about your new home? I love the space and how updated it is.
 
On Pinterest (I love Pinterest) I've seen something similar to the "toiletries" jar you have in your guest bathroom. I think everyone who has a guest bathroom should do something similar. What does your jar contain in it? Shower caps, toothpaste, mouth wash, tooth brushes, mini shower gels for males and female, lotion, and facial wipes.

What advice do you have for someone buying a house? Pick a realistic budget & stick to it. DON'T look at houses you can't afford. I did not allow our realtor to show us any houses that was over our maximum budget. No need to waste your time getting your hopes up by looking at something you can't afford or will struggle to pay for.

What's a realistic budget? If you can't afford the maximum amount you're approved for by the bank don't use that as your maximum. When we were deciding on a budget we took in account other monthly expenses such as utilities, car notes, groceries, gas, my husband's student loans, cell phone bill, cable/internet, leisure spending and savings. We paid cash for our furniture but if you plan on getting new furniture and financing it that's something else you might want to account for. Once we accounted for those the max loan we got approved for was way above what we could actually afford. 

Also, I see people getting disappointed because they have unrealistic expectations when they go searching for a house. Once you decide on a realistic budget you should search a local realtors website so you can see what types of houses, upgrades, schools, and amenities are available in your price range. You might want hard wood floors throughout, stainless steel appliances, granite countertops, coffered ceilings, tray ceilings but those might not be standard in your price range. You can't expect a home owner who has their house priced at market value to come down 50k because you want what you can't afford. 


Comment

Simple door sign

1 Comment

Simple door sign


image.jpg


Hello there!!  


Ive wanted to put something on our door since we moved in because I noticed there was a hook on the door. 


image.jpg

I was thinking about making monthly wreaths depending on holidays/ or the 4 seasons. I decided to keep it simple & use something with my fiancé's last name. I spent about $5 bucks, thanks to a retailmenot coupon I found on their mobile app, for michales. 

Line 1 is thread I needed. Lines 2&3 were the supplies I bought for this mini project. The 'M' banner  & letters to stick on it. 

Line 1 is thread I needed. Lines 2&3 were the supplies I bought for this mini project. The 'M' banner  & letters to stick on it. 

Supplies I used: 

  • The 'M' banner
  • Sticko dimensional alpha stickers
  • Zots (glue dots already had) 
  • Sea shells (I already had this from my scrapbook supplies)
image.jpg


There's not much to the "tutorial" lol really just wanted to post the idea.  Originally I wanted the 'Mitchell' to go down the side of the M banner vertically, but because there was so many letters it was too long to fit. So I did it horizontally. I also wanted to put something on it other than just our house number & the last name. I went through my scrapbook supplies drawer & found some seashells and attached them with mini zots.  

image.jpg

I then put regular size Zots on the back of it before I hung it on the door. The wind blows pretty hard here so I didn't want to take a chance at it flying off the door one day.  

image.jpg

So there you have it, the super easy/ super cheap/ super cute door sign.  

1 Comment

Mother's Day gift idea

Comment

Mother's Day gift idea

Hello,

I don't have any kids, but I love arts & crafts! I wanted a cute but simple gift to give my Nana and my Mom from my sister's kids. Last year was cute, and wanted to follow up this year with something just as simple, but yet meaningful.  ( last year is the picture below, with the 'NANA'. I printed these photos and put them in a floating picture frame, added cut out letters "I love" at the top and the "nana" pictures at the bottom)

mothersdaygift.jpg
 

Now on to this year's Mother's Day project:

I bought the supplies from Walmart and I spent less than $15

  • Sponge brushes: $0.97
  • Black acrylic paint : $ 1.77
  • 8x10 canvas: $3.97 (2 came in the pack)
  • letters (for their names): $0.97 each, (for both canvases I needed 2 for their names)

Supplies I already had & used (click picture to enlarge)

  • hot glue gun & glue sticks
  • 1.5 inch thick Ribbon (green bow canvas)
  • 3/8th inch thick ribbon (blue bow canvas)
  • scrap fabric (to create the bows)
  • Mod podge
  • 1 inch glaze/wash paintbrush

I didn't take a picture of the blank canvas nor did I take pictures while I was at my sister's house. My nephew is 1.5 and very active, I would not have been able to take photos and keep paint off of everything! 

So first I put him in his high chair to keep him stationary and stable enough to stamp his hands on the canvas. I then put paint on the sponge brush and I then painted 1 of his hands. I put the canvas on his little tray on his high chair & I stamped his hand on the canvas, repainted his hand, and then stamped the second canvas, then wiped it off with a wet wash cloth. I then painted his other hand and repeated the process.

My other nephew is only 2.5 months old. He keeps his hands balled up all the time and I knew I would not be able to stamp his hands so I chose to stamp his feet instead. He was strapped in his mamaroo so we painted 1 foot and pressed his foot against the canvas, pushing the canvas on his foot through the back of the canvas to get a good enough impression. We (my sister helped me) stamped it on both canvases, then wiped it off and then painted the other foot and wiped it off after stamping it.


diycanvas.jpg

At this point I took the canvases home so I could spice it up a little. I have craft drawers and lots and lots of supplies. I wasn't sure what I wanted to do to them, but I knew I didn't want the canvases to be exact copies of one another.

I placed the letters on the canvases to spell out both of their first names. It looked like it would eventually fall off over time, so I used some Mod Podge - matte-mat-mate, to paint over (on top of) the letters so they would be glued to the canvas. It dries clear so I just put enough on top of the letters so that they would be secure.

I started with deciding I wanted bows to put on both of them. I used this tutorial to create a small bow (I only made the bow part 5x7 inches because I wanted a tiny bow & I used the hot glue to secure it instead of sewing it closed, since it was being glued to a canvas I didn't add anything else to the back of it either). I glued the bow onto the canvas using the hot glue gun. I then pulled ribbon from my craft drawer, it was 1.5 inch ribbon and wanted to put it on the outer part of the canvas the same (close enough) color as the bow. I started on one side and used the glue gun to secure the starting point. I then stretched it to the other side, once I got it the way I wanted I put hot glue on the otter edge all the way down and then pressed the ribbon following the edge all the way down. I then repeated until I got to the last side to complete the loop. I cut the ribbon so that the ends would meet up about half an inch overlap, I put hot glue on the canvas and completed the last side, only leaving me with the loop to close. I put glue on the end of the ribbon and pressed it down and closed the loop and began working on the back. I started at 1 corner, folding one corner down and then pressing the other on top of it and securing it with hot glue. I then followed the ribbon down one edge gluing it down as I went along until I got to the next corner, then folded one side of the corner down and put glue on top, then folded and pressed the corner down on top of it to create a "perfect corners" look. I repeated until all flaps and all corners were glued down.


Then I took the other canvas created a new blue bow, glued it down and for the other one I wanted the corner to round off like a present wrapping almost. I played with the ribbon an situated it where I wanted to place it, that determined how much I cut. I started on one side, putting glue on the back of the canvas, close enough to the point where the stretched canvas ends, stretched the ribbon tight enough so there's no gaps, then wrapped it back around the back, and put glue there too. I only put glue on the back of the canvas for this part of the ribbon, it is not glued on the front side, but I pulled it tight enough and glued the back so that it shouldn't have a problem with coming off or becoming droopy. I then cut the ribbon so that it matched up close enough with the white canvas on the back.

That's it :) it probably took me about and hour to complete. 


Comment